guides
Pellet Grill Maintenance Guide
Step-by-step pellet grill maintenance schedule covering the burn pot, grease tray, heat deflector, grates, and hopper to keep your smoker running.
 Cole Whitaker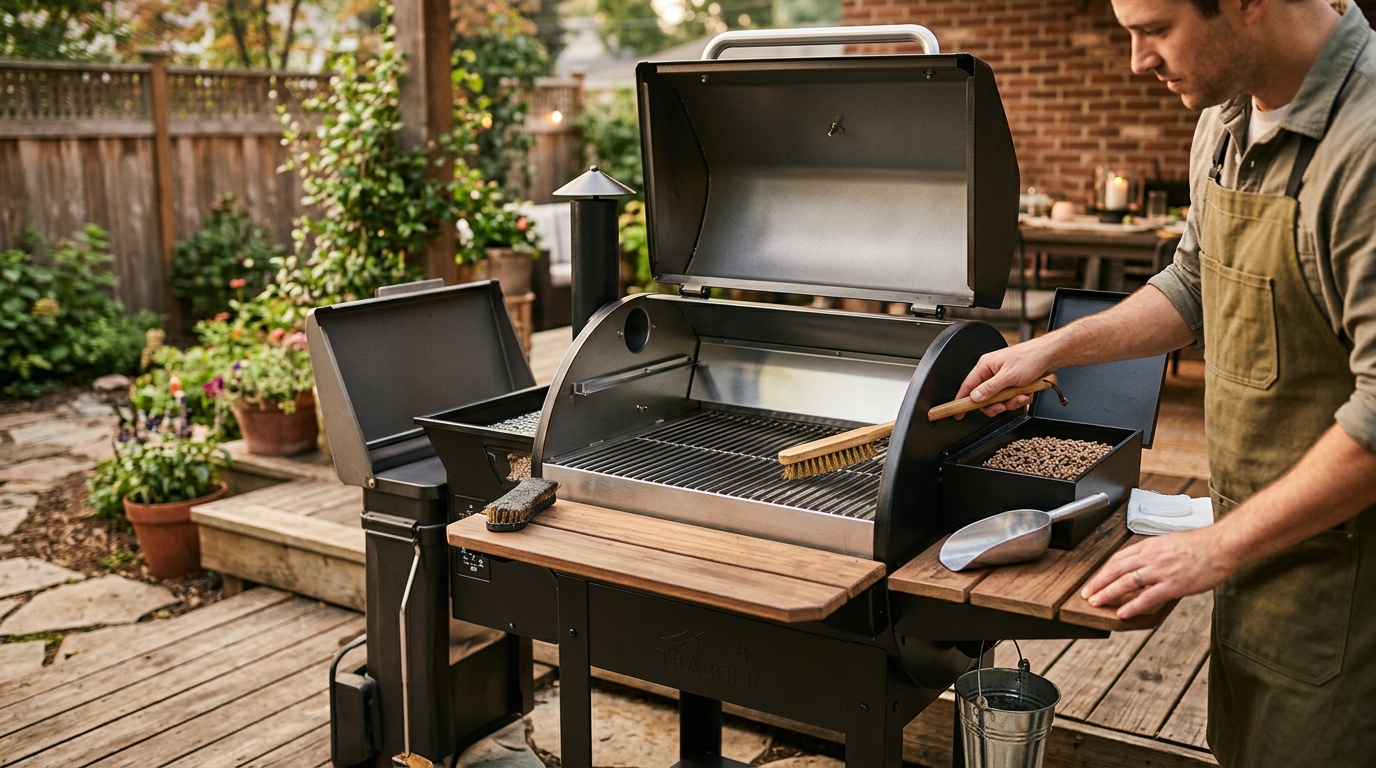
Clean the grates and empty the grease bucket after every cook, vacuum ash from the burn pot and firepot every two to three cooks, and do a full deep clean — removing all internal components for a thorough scrub — every 50 hours of cook time or twice a year, whichever comes first.
Why regular maintenance matters for pellet grills
Pellet grills are mechanical appliances with moving parts — the auger, the induction fan, and the igniter rod work together to hold a precise temperature across a multi-hour cook. Neglect any one of these systems and the grill stops delivering the convenience and temperature stability it was designed for.
The two most common causes of pellet grill failure — grease fires and auger jams — are both maintenance failures. A grease fire ignites accumulated grease in the drip tray or cooking chamber and can reach temperatures high enough to warp the chamber walls and damage the control board. An auger jam caused by swollen or compressed old pellets blocks fuel delivery and causes the fire to go out mid-cook, potentially ruining an eight-hour smoke.
Both failures are entirely preventable with a consistent cleaning routine that takes less than 15 minutes after each cook.
After every cook: your post-smoke checklist
These five steps take less than 15 minutes and prevent the majority of pellet grill problems.
Step 1: Run the shutdown cycle. Let the grill complete its factory shutdown cycle. After you turn the dial to Off, most pellet grills run the fan for an additional 15 to 20 minutes to clear ash and cool the burn pot. Interrupting this cycle by cutting power early leaves unburned pellets and hot ash in the firepot, which can smolder and cause problems at the next startup.
Step 2: Empty the grease bucket. While the grill is still warm (not hot), slide out the grease bucket and empty it into a sealable container for disposal. A full grease bucket is a grease fire waiting to happen — a single temperature spike can push grease over the lip and onto the burner. Line the bucket with a bucket liner or aluminum foil before reinserting to make future emptying faster: pellet grill grease bucket liners on Amazon.
Step 3: Brush the grates. Use a stiff grill brush or grate scraper while the grates are still warm — residue brushes off far more easily before cooling and baking on. Brush vigorously across the entire cooking surface and wipe with a paper towel to remove loose debris.
Step 4: Scrape the drip tray. Use a putty knife or drip tray scraper to push accumulated grease toward the grease drain opening. A layer of high-heat aluminum foil on the drip tray — replaced every two to three cooks — prevents baked-on grease from accumulating to the point where removal requires soaking or grinding.
Step 5: Oil the grates. A light coating of cooking oil on clean grates prevents rust between cooks and reduces sticking at the next session. Apply with a paper towel held by tongs — you want a very thin protective layer, not a heavy coat.
Every two to three cooks: clean the burn pot and firepot
Step 1: Let the grill cool completely. Never vacuum ash from a warm grill. Even ash that appears cold can contain live embers capable of igniting a shop vac filter. Wait at least two hours after the last shutdown cycle before vacuuming the cooking chamber.
Step 2: Remove the grates and heat deflector. Lift out the cooking grates and set them aside. Remove the heat deflector — the solid steel plate positioned above the firepot that redirects heat toward the sides of the cooking chamber. This piece accumulates grease on its underside and ash on top. A layer of foil on the deflector surface extends the time between deep cleans.
Step 3: Vacuum the firepot. The firepot — the perforated metal cup directly above the auger outlet — fills with white ash during every cook. Excess ash blocks the airflow holes, chokes the flame, and causes temperature swings of 25 degrees or more. Use a grill-rated shop vac or dedicated ash vacuum to remove every trace of ash: grill ash vacuum on Amazon. Proper combustion requires clean airflow through all the pot holes.
Step 4: Vacuum the chamber floor. Ash settles through the gaps in the drip tray onto the chamber floor beneath the firepot. Vacuum this area at the same session. Accumulated ash absorbs ambient moisture and turns into a corrosive paste that slowly etches the chamber floor — removing it every few cooks prevents long-term damage.
Step 5: Wipe and reassemble. Wipe the chamber walls with a dry paper towel to remove light grease deposits before they build up into thick carbonized layers. Reinstall the deflector and grates, replace the drip tray foil if needed, and close the lid.
Deep clean: twice a year or every 50 hours
A deep clean is the full reset that removes baked-on grease and carbonized residue that routine post-cook maintenance leaves behind. Schedule one at the start of grilling season and one at the close.
Step 1: Disassemble the cooking chamber. Remove grates, heat deflector, drip tray, and the firepot. Set each component on a tarp or utility sink for individual cleaning. Most pellet grill grates and deflectors fit in a large tub or outdoor utility sink for soaking.
Step 2: Degrease each component. Spray all interior-facing surfaces generously with a food-safe grill degreaser — Citrusafe grill degreaser on Amazon is a reliable choice that does not require rinsing and leaves no chemical residue on cooking surfaces. Let the degreaser dwell for five minutes, scrub with a stiff nylon brush, then rinse thoroughly with a garden hose. Do not use wire brushes on powder-coated exterior panels.
Step 3: Scrub the grates. For baked-on carbonized residue that the brush does not clear, soak the grates in hot water with one cup of baking soda for 30 minutes before scrubbing. A grill grate cleaning stone removes stuck-on char without detergent and is safe for both cast iron and stainless grates.
Step 4: Clean the chamber interior. Use a putty knife to scrape the chamber walls and floor, then vacuum all loose debris. Follow with a wipe-down using grill-safe degreaser and paper towels. Inspect the interior walls for rust — light surface rust on the chamber interior is normal and treatable with a light coat of cooking oil; through-rust that creates holes requires professional repair or a replacement chamber.
Step 5: Inspect and clear the auger. With the hopper empty, visually inspect the auger tube for compressed pellet dust or pellet fragments that have bridged across the auger throat. Run the grill briefly in feed mode to spin the auger and clear loose debris. If the auger is jammed, use a wooden dowel through the hopper opening to break up the blockage from above — never insert a metal rod and never put fingers into the auger tube.
Step 6: Clean the temperature probe. The RTD probe is the small metal rod mounted inside the cooking chamber. Grease buildup on the probe causes erratic temperature readings — the grill may spike or drop 50 degrees from the set temperature because the probe is reading its own grease coating rather than the actual air temperature. Wipe the probe carefully with a dry paper towel at every deep clean cycle.
Step 7: Reassemble and re-season. Reinstall all components, apply a light coat of cooking oil to the grates and interior chamber walls, and run the grill at 350 degrees Fahrenheit for 30 minutes to re-season the chamber and burn off any residual cleaner before the next cook.
How to maintain the pellet hopper
Keep pellets dry. Wood pellets are hygroscopic — they absorb moisture from the air and swell, then crumble into fine sawdust. Swollen pellets jam the auger and cause ignition failures; sawdust fragments clog the burn pot holes and choke combustion. Store pellets in an airtight container rather than leaving the hopper lid open between cooks: airtight pellet storage bucket on Amazon.
Empty the hopper during long storage. If the grill will sit unused for more than two weeks, use the hopper clean-out door (standard on most modern pellet grills) to dump remaining pellets into a sealed container. Store pellets indoors or in a sealed outdoor bucket — never leave pellets sitting in an open hopper over winter or through extended rainy periods.
Vacuum hopper dust between pellet changes. Fine pellet dust accumulates at the bottom of the hopper and can be pulled into the auger by vibration during a cook. Empty the hopper completely between pellet flavor changes and vacuum any remaining dust before refilling with a fresh flavor.
Recommended tools for cleaning your pellet grill
Best for Deep cleaning grates and heat deflectors
Citrusafe BBQ Grill Cleaner and Degreaser
Food-safe citrus-based degreaser cuts carbonized grease from grates and deflectors without harsh fumes. Rinse-free formula speeds up cleanup and leaves no chemical residue on cooking surfaces.
★★★★★ 4.6 · 1,847 reviews
Check current price on Amazon→Best for Firepot and chamber ash removal
Ash Vacuum for Pellet Grills
Dedicated fine-mesh filter handles wood ash without clogging. Vacuum the firepot, chamber floor, and hopper dust every two to three cooks for clean airflow and reliable ignition at every startup.
★★★★☆ 4.4 · 923 reviews
Check current price on Amazon→Best for Post-cook grate cleaning
Grill Grate Brush and Scraper Set
Wide stainless-steel bristle head with an integrated scraper clears grates in two or three passes while still warm. A wooden handle that stays cool makes after-cook cleanup faster and safer than short plastic handles.
★★★★★ 4.5 · 3,102 reviews
Check current price on Amazon→Troubleshooting common pellet grill problems
Temperature swings of 25 degrees or more: Usually caused by a dirty RTD probe (wipe it clean), a full or blocked firepot (vacuum it), or degraded pellets in the hopper (empty and refill with fresh, dry pellets from a sealed container). A loose probe connection at the control board can also cause erratic readings.
Grill will not ignite: Check the firepot for ash that has fully buried the igniter rod. Vacuum the firepot, add a small amount of fresh pellets, and retry. If the igniter rod glows orange through the firepot holes at startup but the pellets will not catch, check pellet quality and verify that the air intake paths are not blocked.
Auger jam: Turn the grill completely off, empty the hopper, and use a wooden dowel through the hopper opening to carefully break up any compressed pellet blockage. Never put fingers into the auger tube — the mechanism can restart unexpectedly when power is restored.
Error code or high-temp fault: Usually triggered by a grease fire in the cooking chamber or a failed RTD probe. Turn the grill off immediately, wait until the chamber cools completely, then remove and inspect the probe and clean the chamber before restarting.
FAQ
Frequently asked questions
How often should you clean a pellet grill?
Can you use a pressure washer on a pellet grill?
How do you clean the temperature probe on a pellet grill?
What happens if you leave old pellets in the hopper?
How do you prevent grease fires in a pellet grill?
Do you need to season a pellet grill after cleaning?
Bottom line
A pellet grill that is cleaned consistently — grates and grease bucket after every cook, firepot vacuumed every two to three sessions, full deep clean twice a year — runs reliably for a decade or more. The two problems that end pellet grills early, grease fires and auger jams, are both maintenance failures that a simple 15-minute post-cook routine prevents entirely. Build the habit early and the grill pays back in steady temperatures and zero mid-cook emergencies for years.
For related reading: how to use a smoker for any cut of meat, pellet grill vs. smoker: which should you buy, best pellet grills for every budget, and how to clean a pellet grill after heavy use.