guides
How to Make Burnt Ends: Kansas City BBQ Guide
Step-by-step guide to making Kansas City burnt ends from brisket point: smoking, cubing, saucing, and the return-smoke technique.
 Cole Whitaker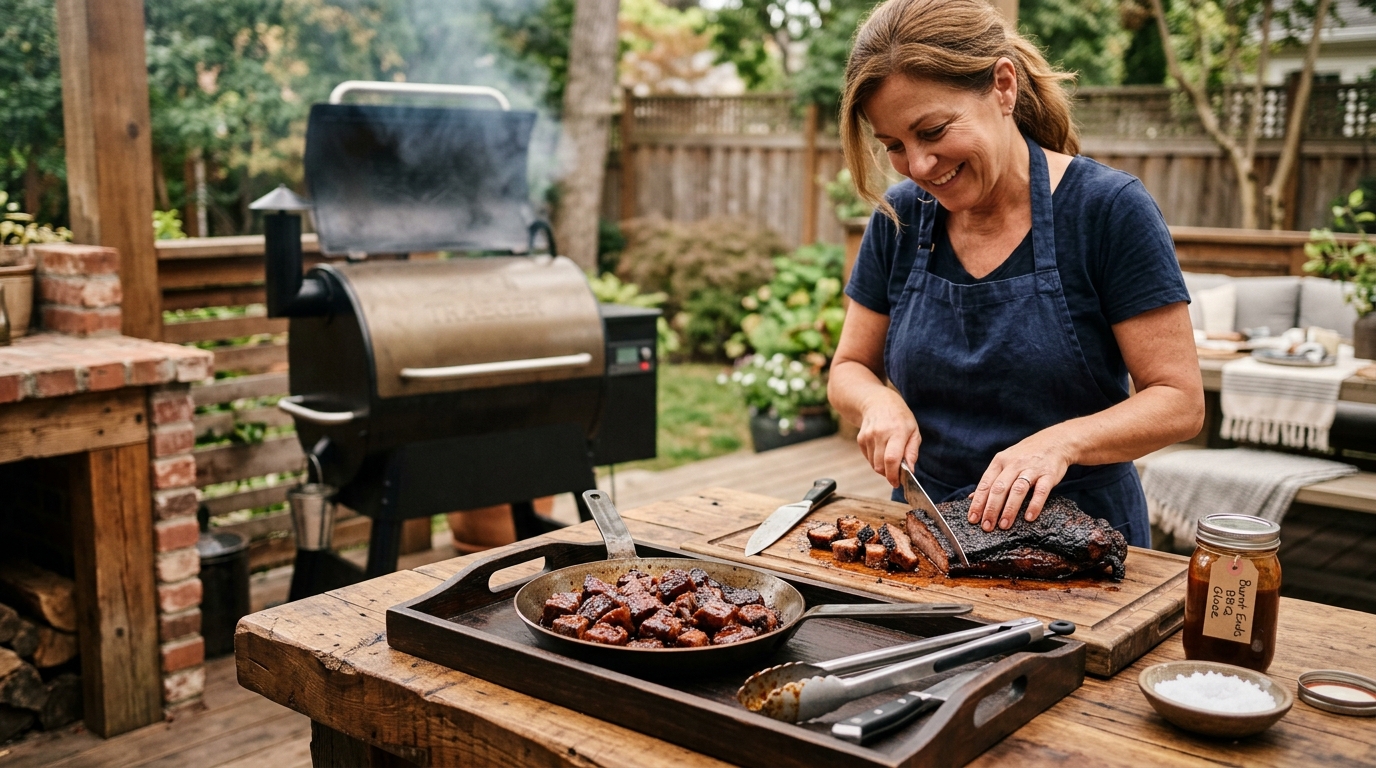
Burnt ends are cubes of smoked brisket point cooked twice: first as part of a whole packer brisket at 225°F until probe-tender, then separated, cubed, sauced, and returned to the smoker at 275°F for 1 to 2 hours until sticky, caramelized, and impossibly tender. Budget 16 to 20 total hours from start to first bite.
What are burnt ends?
Burnt ends originated in Kansas City as the trimmed, charred end pieces sliced off the brisket point during service at classic BBQ restaurants — pieces that were once given away free or sold cheaply because they were too irregular to plate. The concentrated bark, high fat content, and double exposure to smoke gave these offcuts a flavor intensity that uniform flat slices could not match. Eventually, the scraps became the most sought-after item on the menu.
Modern burnt ends are made deliberately. The point is smoked as part of the whole brisket until fully tender, then separated, cubed, seasoned a second time, and returned to the smoker to develop a caramelized crust on every exposed surface. The result is a bite-sized cube with a crackling mahogany exterior and a rich, gelatinous interior from the fully converted collagen of the point muscle.
What makes the point ideal is its fat-to-muscle ratio. The point has significantly more intramuscular fat and connective tissue than the flat. During the long first smoke, collagen converts to gelatin and the fat renders into the muscle fibers. When the cubed point returns to the smoker a second time at higher heat, that gelatin and rendered fat produce a self-basting effect — keeping the interior moist while the sauce caramelizes on the outside.
What cut of meat makes burnt ends?
The brisket point (also called the deckle or second cut) is the correct muscle for classic burnt ends. It sits on top of the leaner flat and is separated from it by a diagonal seam of fat running through the middle of the packer.
| Product | Best for | Rating | Notes | |
|---|---|---|---|---|
| Brisket Point | Classic burnt ends | ★★★★★ | High intramuscular fat and collagen-rich connective tissue fully convert to gelatin during the long cook, producing a soft, pull-apart interior. The only true base for Kansas City burnt ends. | — |
| Brisket Flat | Not recommended | ★★☆☆☆ | Too lean for burnt ends — the flat dries out and tightens during the second smoke rather than becoming tender. It lacks the fat content needed to stay moist through two stages of cooking. | — |
| Chuck Roast | Budget brisket alternative | ★★★★☆ | A popular shortcut that skips the full brisket cook. Chuck has enough marbling to stay moist through two rounds of heat. The flavor is beefier and less smoky than true brisket point burnt ends. | — |
| Pork Belly | Pork burnt ends variation | ★★★★☆ | An excellent alternative that produces rich, porky burnt ends with a candy-like crust when glazed with a sweet sauce. Cook to 200°F internal. Total cook time is roughly 4 to 5 hours. | — |
For authentic Kansas City burnt ends, buy a whole packer brisket with USDA Choice or Prime grade. The point alone weighs 6 to 8 pounds after separation and yields approximately 4 to 5 pounds of finished burnt ends after trimming and the second smoke.
How to make burnt ends: step-by-step
Step 1: Smoke the whole packer brisket
Start with a trimmed, seasoned whole packer brisket. Trim the fat cap to one-quarter inch, apply a generous coat of equal parts coarse kosher salt and coarse black pepper (plus optional garlic powder), and smoke at 225–250°F over post oak or hickory.
Smoke until the brisket stalls around 160–170°F, then wrap the entire brisket in pink butcher paper and continue cooking until probe-tender at 200–205°F — a probe should slide into the thickest part of the flat with zero resistance. For a 14-pound brisket, budget 14 to 17 hours including the stall. A wireless dual-probe thermometer lets you track both grate temperature and meat temperature without opening the lid: wireless thermometer for smokers on Amazon.
Step 2: Rest briefly, then separate the point
Pull the wrapped brisket from the smoker and rest it for 30 minutes — enough time for the exterior to cool down for handling, but not the full 1 to 2 hour rest you would give a brisket destined for slicing. Unwrap on a large cutting board.
Locate the fat seam running diagonally between the point and the flat. Slide a long boning knife through the fat seam to separate the two muscles. The flat goes back into butcher paper and into a dry cooler for a full rest before slicing. The point stays on the cutting board for the next step.
Step 3: Cube the point into 1-inch pieces
Trim any remaining thick exterior fat from the top of the point — large exterior fat chunks produce a greasy, unpleasant texture after the second smoke rather than the crackling bark you want. Leave the intramuscular fat intact.
Cube the point into 1-inch pieces as uniformly as possible. Uniform sizing is critical: smaller pieces will be overdone by the time larger pieces caramelize, and oversized cubes will not caramelize all the way through in 90 minutes. A sharp chef’s knife or dedicated slicing knife makes clean cuts without tearing: meat slicing and carving knife on Amazon.
Step 4: Season and sauce the cubes
Transfer the cubes to a large aluminum half-pan or a 12-inch cast iron skillet. Sprinkle with 1 to 2 tablespoons of your original dry rub distributed across the entire batch — the cubes already carry 14 hours of bark and seasoning, so this second application adds a fresh outer layer that caramelizes during the return smoke.
Pour approximately one-half cup of Kansas City-style BBQ sauce over the cubes. Toss with gloved hands or tongs until every surface is coated in both rub and sauce. Scatter two tablespoons of unsalted butter in small pieces across the top — the butter melts during the cook, enriches the sauce glaze, and contributes to the lacquered finish.
Step 5: Return to the smoker uncovered at 275°F
Increase your smoker to 275°F. Spread the sauced cubes in a single layer in the pan — no stacking, so every surface gets direct heat exposure. Return the uncovered pan to the smoker.
Cook for 60 to 90 minutes, tossing the cubes gently every 30 minutes to encourage even caramelization on all sides. You are looking for a dark mahogany crust on every face of every cube, a slightly tacky exterior from the reduced sauce, and an interior that reads 210°F on an instant-read thermometer — fully gelatinized and soft when pressed. If the tops have not caramelized at 60 minutes, give the pan another 20 to 30 minutes uncovered. If outer edges look very dark before the interior is done, tent loosely with foil.
Step 6: Rest and serve
Remove the pan from the smoker and rest the burnt ends uncovered for 10 minutes before serving. Carryover heat continues raising the interior temperature and the juices redistribute through each cube. Serve directly from the pan on butcher paper, in a sandwich on a toasted brioche bun, or alongside brisket flat slices.
What BBQ sauce works best for burnt ends?
Kansas City-style sauce is the classic choice: thick, sweet, tomato-forward, with molasses and a moderate kick of black pepper or cayenne. The sugar content in Kansas City sauce caramelizes readily at 275°F and produces the sticky, lacquered exterior that defines great burnt ends.
Avoid thin, vinegar-based sauces (Carolina or Alabama white) for burnt ends — they do not caramelize the same way and produce a wetter, more acidic result. If you prefer a less sweet profile, a Kansas City sauce thinned with a small amount of apple cider vinegar and strong black coffee preserves the thickness while cutting the sweetness noticeably.
For a simple homemade sauce: combine 1 cup ketchup, one-quarter cup dark molasses, 2 tablespoons brown sugar, 1 tablespoon Worcestershire sauce, 1 teaspoon garlic powder, 1 teaspoon onion powder, and one-half teaspoon cayenne. Simmer for 15 minutes over medium-low heat until thickened. This yields about 1.5 cups of sauce — enough for a full batch of burnt ends from a 6-pound point.
Poor man’s burnt ends from chuck roast
If you do not want to smoke a whole packer brisket before making burnt ends, chuck roast is the best shortcut. A 3 to 4 pound chuck roast produces results that approximate brisket point burnt ends in a fraction of the total cook time.
Method: Cut the raw chuck into 1.5-inch cubes before the first smoke (unlike brisket point, chuck is cubed before cooking). Season generously with dry rub. Smoke at 250°F until the cubes reach 165°F internal (approximately 3 hours), then transfer to an uncovered pan with BBQ sauce and two tablespoons of butter. Continue at 275°F for 60 to 90 minutes until caramelized and the interior probes at 210°F. Total time: approximately 4 to 5 hours.
Chuck burnt ends have good marbling and hold up well through the two-stage cook. The smoke ring is less pronounced and the flavor is beefier rather than the deep, smoky richness of point-based burnt ends. But for a weeknight cook or when a full packer brisket is impractical, chuck roast burnt ends are an excellent alternative.
What temperature should burnt ends reach?
The interior of a finished burnt end should reach 210°F — higher than the target for a whole brisket flat (200–205°F). The small cube format, the high fat content of the point, and the caramelizing sauce all require the extra temperature to develop the right texture. At 210°F, all remaining collagen has converted to gelatin and each cube should yield when pressed with a spatula rather than spring back.
Check several cubes across the pan, not just the ones near the edge. Center cubes may lag 10 to 15°F behind the outer row. If outer cubes read 210°F and center cubes read 195–200°F, rotate the pan and give it another 15 to 20 minutes. An instant-read thermometer makes these spot checks fast and accurate: best instant-read thermometers.
What to serve with burnt ends
Burnt ends pair naturally with the classic Kansas City BBQ spread. Sliced brisket flat alongside a generous serving of burnt ends is the traditional combination — the lean, smoky slices contrast with the rich, sticky cubes. A plate of burnt ends also works as a standalone main served with:
- Pickled red onions — the acidity cuts through the richness of the point fat
- White bread or brioche buns — to soak up the sauce from the pan
- Coleslaw — creamy or vinegar-based, served cold against the hot cubes
- Baked beans — Kansas City tradition, often made with leftover burnt ends stirred in during the last hour of cook time
- Dill pickles and sliced white onion — the classic BBQ condiment pairing that cuts fat and adds texture
For a burnt ends sandwich: pile three or four cubes on a toasted bun, add a spoonful of coleslaw directly on top of the cubes, and skip the extra sauce — the cubes carry enough glaze already. The contrast between the sticky exterior and the cold, crunchy slaw is the defining version of the burnt ends sandwich at most Kansas City joints.
FAQ
Frequently asked questions
How long does it take to make burnt ends?
Can you make burnt ends without smoking the whole brisket?
What wood is best for burnt ends?
Why are my burnt ends tough?
Can you make burnt ends in the oven?
How do you store and reheat leftover burnt ends?
Bottom line
Burnt ends are the most rewarding use of the brisket point and the natural next step for anyone who has already mastered a whole packer brisket. The fundamentals are straightforward: smoke the whole brisket until probe-tender, separate the point, cube into uniform 1-inch pieces, toss with rub and Kansas City-style BBQ sauce, and return to the smoker at 275°F until every surface caramelizes and the interior yields at 210°F. The patience required in the first 14-plus-hour smoke pays dividends in the second pass — the already-converted collagen in the point responds to the second heat with a richness and tenderness that sliced flat cannot match.
For related reading: brisket smoking guide: how to smoke brisket step by step, how to use a smoker for any cut, best instant-read thermometers for accurate pulls, and pellet grill vs smoker: which is right for you.