guides
How to Make Grilled Pizza
Learn how to make grilled pizza at home: the right dough, two-zone heat setup, and topping strategy for a crispy, blistered crust every time.
 Cole Whitaker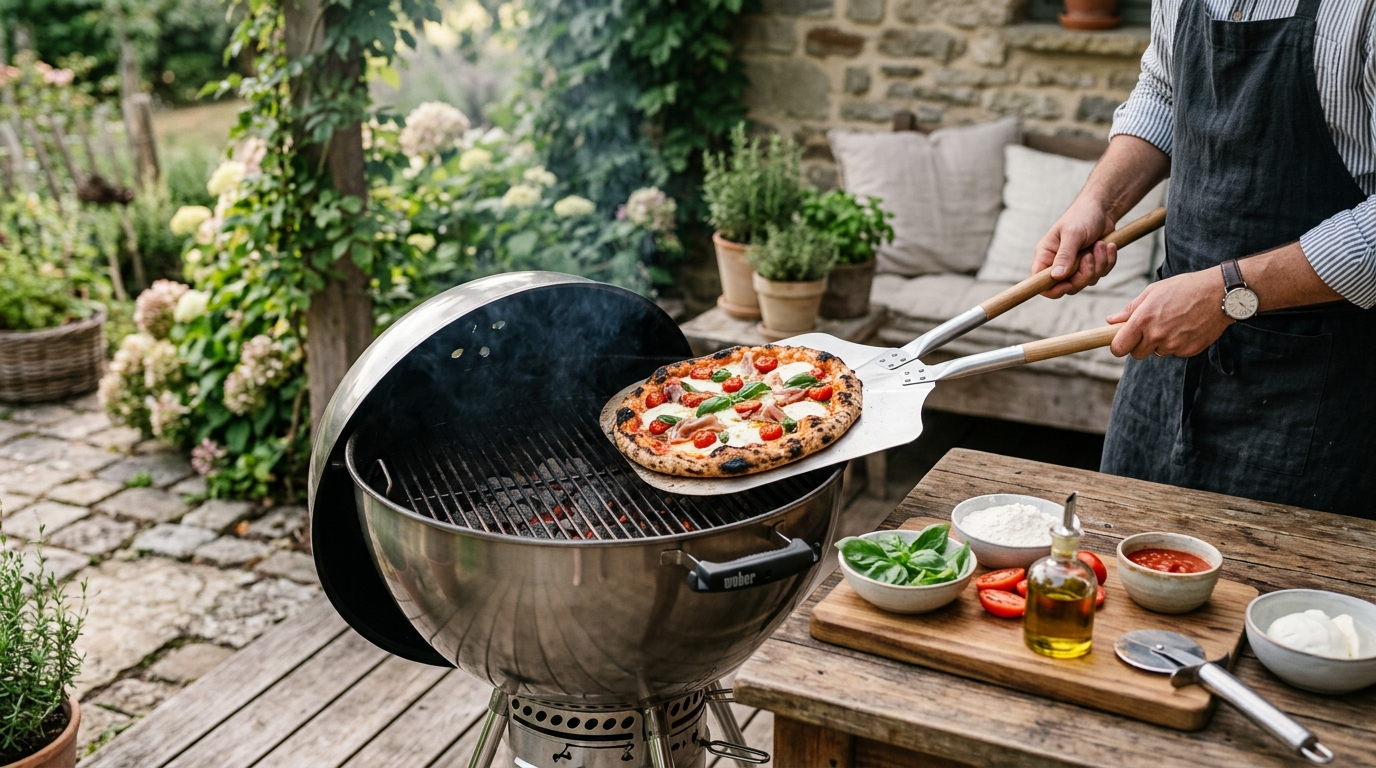
Grilled pizza is faster and better than oven pizza when done right: stretch the dough thin, preheat the grill to 500°F using a two-zone setup, grill one side of the dough bare over direct heat for 2–3 minutes until grill marks form, then flip it to the indirect zone, load on toppings, and cover for 3–4 minutes until the cheese bubbles. The entire cook takes under 10 minutes once the grill is hot.
Why does grilled pizza taste better than oven pizza?
A standard home oven maxes out at 500–550°F, and most home bakes happen at 425–475°F because a stone or steel needs time to saturate with heat. Even then, bottom heat transfer is relatively slow. A grill changes both variables.
Direct contact between raw dough and 500°F+ grill grates creates a blistered, slightly charred underside that mimics a wood-fired Neapolitan oven. The top heat, concentrated by a closed lid in a small chamber, melts cheese in minutes rather than the 10–15 minutes a home oven requires. The result is a crust with real textural contrast: crackling on the bottom, airy and soft on the interior, and slightly puffy along the edge.
The key driver is speed. A grilled pizza cooks in 6–8 total minutes — fast enough to preserve moisture inside the dough and on the toppings while producing aggressive browning on the outside. Oven pizza at lower temperatures tends to dry out before it browns properly.
What equipment do you need for grilled pizza?
Non-negotiables:
- A grill with a lid — convective heat from the closed lid melts toppings while the grill grates cook the bottom. An open grill cannot brown cheese adequately.
- A pizza peel or flat rimless sheet pan — to transfer a stretched round of raw dough to a 500°F grill without burning your hands or distorting the shape. A cutting board works in a pinch but the extra weight and raised edges make it awkward.
- Long-handled tongs — for repositioning the dough over direct heat and checking the underside char.
- A pastry brush or oil mister — to coat the grilled side with olive oil immediately after the first flip.
Strongly recommended:
- Pizza peel for the grill — a 12 to 14-inch aluminum or wood peel with a long handle keeps your hands away from hot grates. Look for a handle at least 14 inches long; short kitchen peels are awkward and dangerous at grill height.
- Pizza stone or baking steel for grill use — optional but valuable on gas grills with wide grate spacing. A steel preheated on the grill surface creates more even bottom heat without the grate gaps that can make thin dough droop or stick.
- Instant-read thermometer — for verifying actual grate temperature, not just the air temperature on the lid gauge, which can read 50–100°F lower than the surface.
What dough works best for grilled pizza?
Almost any pizza dough works on the grill, including store-bought fresh dough from the refrigerated section of the grocery store. The differences come down to fermentation time and hydration.
Store-bought fresh dough is the fastest option. Most stores sell 1-pound balls of fresh pizza dough, which stretches to a 12-inch round. Take it out of the refrigerator 30–60 minutes before stretching — cold dough springs back aggressively and tears instead of holding its stretched shape.
Homemade dough gives you control over hydration and fermentation. A 65% hydration dough (65 grams water per 100 grams flour) is easy to handle and produces a solid balance of chew and char. A 72–75% hydration dough is stickier to work with but produces a more open, airy crumb. Both work well on the grill.
What to avoid:
- Pre-baked crusts (Boboli-style) — already cooked, so they just turn dry and brittle on the grill. The grill advantage is producing char on raw dough; par-baked crusts cannot benefit from that.
- Frozen grocery pizza — designed for an oven environment. Toppings are proportioned for oven bake times and typically burn before the dough chars properly on a grill.
- Dough thicker than half an inch — the grill cooks fast and hot. A thick crust burns on the outside before the interior cooks through. Thin and irregular beats thick and uniform every time.
How to set up the grill for pizza
The two-zone setup is essential for grilled pizza and works for both gas and charcoal.
Gas grill: Turn all burners to high and close the lid. Preheat for 15–20 minutes until the grate temperature reaches 500–550°F. Before grilling the pizza, turn off one side of the burners to create an indirect zone. The pizza starts over the hot direct zone for the initial sear, then moves to the indirect zone after the flip.
Charcoal grill: Light a full chimney of charcoal and wait until all coals are covered with grey ash — about 20 minutes. Pour them in a bank to one side of the kettle, leaving one half coal-free. The charcoal side is the direct heat zone; the empty side is the indirect zone. Aim for 500°F+ on the direct side before starting.
The two-zone setup matters because the raw side of the dough needs direct heat for char marks and structural set. Once flipped, the toppings need gentler convective heat from the lid to melt without burning. Direct heat on topped pizza causes cheese to scorch before it melts through.
How to make grilled pizza: step-by-step
Step 1: Remove the dough from the refrigerator. Take the dough ball out 30–60 minutes before grilling. Cold dough is tight and elastic — it snaps back when stretched rather than holding its shape. Room-temperature dough is pliable and stretches thin without tearing. Coat the ball lightly with olive oil and leave it covered on the counter until ready.
Step 2: Prepare all toppings in advance. Grilled pizza moves fast. You will have approximately 3–4 minutes on the indirect zone to melt toppings once the dough is flipped, so anything that needs cooking must be pre-cooked before it goes on the pizza. Slice mozzarella thin and pat it dry, cook sausage crumbles, roast garlic, sauté mushrooms, and set everything out in small bowls next to the grill before the dough goes on.
Step 3: Preheat the grill to 500°F. Set all burners to high (gas) or light a full chimney of charcoal and bank it to one side. Preheat with the lid down for 15–20 minutes. Confirm 500°F at grate level using a thermometer, not the lid gauge.
Step 4: Stretch the dough by hand. Dust your hands and work surface lightly with flour or semolina. Flatten the dough ball with your palms, then use your knuckles — not a rolling pin — to stretch the dough from the inside out, rotating as you go. Work toward 10–12 inches across. The dough does not need to be perfectly round — irregular shapes are expected. Target consistent thickness of roughly 3–4mm, about the thickness of two quarters stacked.
Step 5: Slide the dough onto the grill. Lay the stretched dough on a well-floured peel or flat sheet pan. Brush the top surface lightly with olive oil. Open the grill, slide the dough directly onto the direct heat zone, and close the lid immediately. Set a 2-minute timer.
Step 6: Check the underside and flip. After 2 minutes, open the lid and lift the edge of the dough with tongs. Look for grill marks, slight firmness, and a golden-to-tan underside. If the bottom looks pale, close the lid for another minute. Once properly marked, use tongs and the peel to flip the dough so the grilled side faces up, and slide it over to the indirect zone.
Step 7: Top the pizza immediately. You have about 60 seconds before the second side cooks through, so work quickly. Brush the grilled surface with olive oil, spread a thin layer of sauce — too much sauce creates steam that softens the crust — and layer on cheese and pre-cooked toppings in a single light layer. Heavy toppings trap steam and prevent the cheese from properly browning.
Step 8: Close the lid and finish. Cook for 3–4 minutes over the indirect zone with the lid closed. The convective heat will melt the cheese and heat the toppings without burning the bottom. Check at 3 minutes: cheese should be bubbling, the crust edge golden brown, and the underside deep brown but not black. Add a minute more if needed.
Step 9: Rest for 2 minutes before cutting. Slide the peel under the pizza and transfer to a cutting board. Let it rest 2 minutes before cutting — the cheese and sauce are extremely hot and will slide off immediately after removal from the grill. Use a sharp knife or pizza wheel rather than a rocking blade, which tears the soft interior crumb.
What toppings work best for grilled pizza?
Classic thin-crust style works best. The grill produces a crust similar to Neapolitan wood-fired pizza — crisp, light, and slightly charred. Toppings suited to that style work best here: fresh mozzarella (rather than shredded low-moisture), crushed San Marzano tomatoes (rather than thick cooked sauce), fresh basil added after pulling, and a finish of good olive oil.
Keep the topping layer thin. One to two ounces of cheese per 12-inch pizza is enough. A heavy load of cheese holds moisture, prevents browning, and can turn the crust soggy. Think of each topping as an accent on the crust, not a covering.
Best toppings for grilled pizza:
- Fresh mozzarella, sliced thin and patted dry to remove excess moisture
- Ricotta dolloped on after the flip
- Pre-cooked Italian sausage, pancetta, or crispy prosciutto
- Roasted garlic, caramelized onions, or sautéed mushrooms
- Fresh arugula, basil, or thinly sliced prosciutto added raw after pulling off the grill
Toppings to limit:
- Raw vegetables that release water (zucchini, fresh tomato slices) — they steam the crust soft
- More than a thin layer of sauce — excess liquid is the leading cause of a soft grilled pizza
- Pre-shredded low-moisture mozzarella in thick amounts — it melts acceptably but produces less elegant browning than fresh mozzarella
How do you prevent grilled pizza from sticking?
Sticking is the most common problem beginners encounter. Three things prevent it:
1. Clean, oiled grates. After the grill is fully preheated, brush the grates with a wire brush and wipe them with an oil-soaked paper towel using tongs. Residue from previous cooks burns onto grate surfaces and creates sticky spots. Properly cleaned and oiled grates release dough cleanly.
2. Minimal flour on the dough. Use just enough flour on the work surface to prevent sticking while stretching, then brush off any thick patches before transferring to the grill. Excess flour falls through the grates, burns, and bonds the dough to the grate surface.
3. Patience on the first flip. Like a steak, dough releases naturally when the crust has set. If you try to flip too early, before grill marks form, it will stick. Wait the full 2 minutes, then test an edge gently with tongs. If it releases cleanly, it is ready. If it resists, give it another 30 seconds before testing again.
FAQ
Frequently asked questions
Can you make grilled pizza on a gas grill?
Do you need a pizza stone to grill pizza?
How do you keep grilled pizza from burning?
Can you use store-bought dough for grilled pizza?
What temperature should the grill be for pizza?
How long does grilled pizza take to cook?
Bottom line
Grilled pizza is one of the most impressive things you can cook outdoors with minimal equipment. The technique is fast — under 10 minutes from raw dough to finished pizza — and the results are consistently better than a home oven at lower temperatures. The four rules that matter most: thin dough stretched by hand, all toppings pre-cooked before they go on, the first flip before any toppings are added, and restraint with sauce and cheese. Master those and the grill will outperform your oven every time.
For related guides: how to grill a perfect steak, how to grill salmon without sticking, how to grill corn on the cob, and how to use a smoker for beginners.