guides
How to Season Cast Iron: The Complete Guide
Season cast iron properly with the right oil, temperature, and technique. Covers first seasoning, maintenance, and rescuing rusty pans.
 Cole Whitaker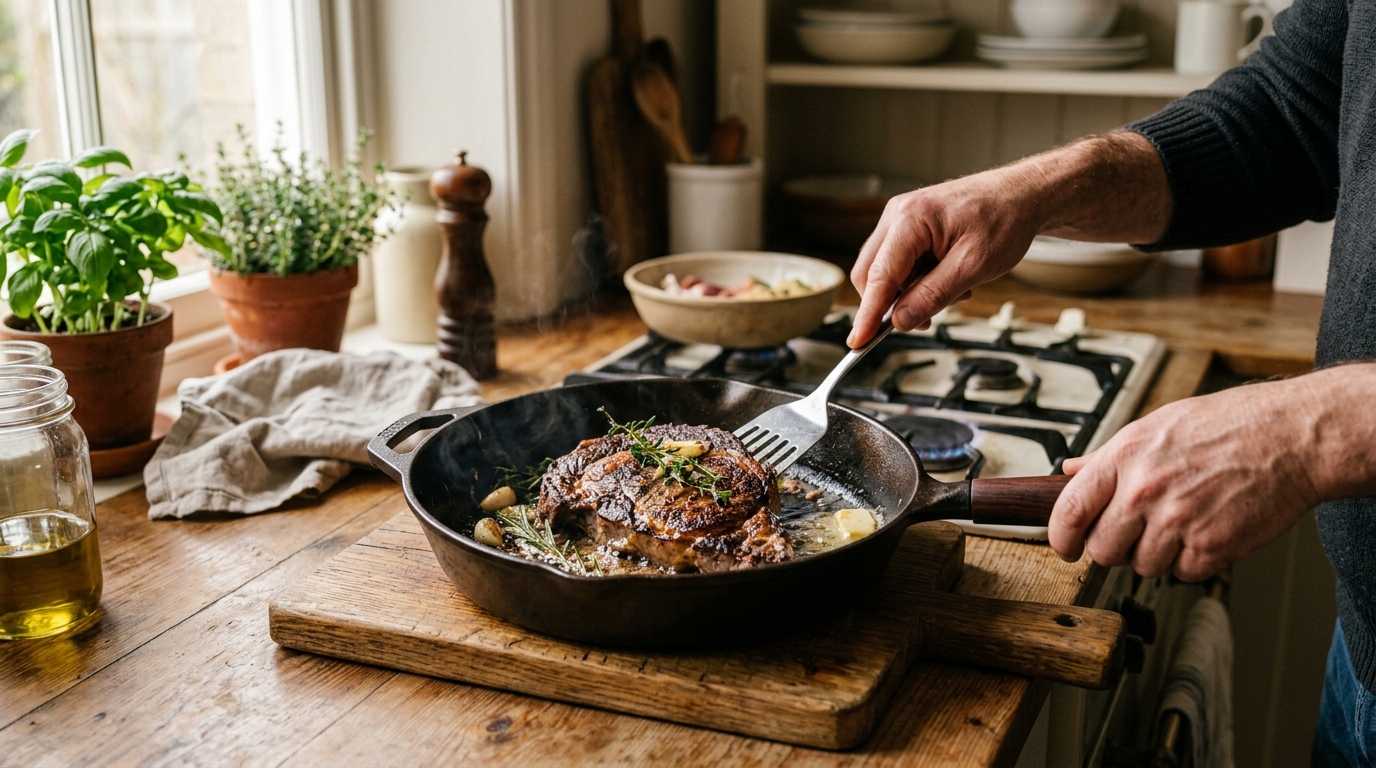
Seasoning cast iron is misunderstood in two directions: some people treat it as a sacred ritual requiring exotic oils and precise oven temperatures, while others just mean “rub on some shortening and call it done.” Neither is quite right. Seasoning is the process of baking a very thin layer of oil onto the iron until it polymerizes into a hard, slick surface. Do it correctly and your pan improves with every cook. Do it wrong and you get sticky patches, flaking, or rust. This guide covers first seasoning, ongoing maintenance, and full re-seasoning from scratch.
What seasoning actually is
Seasoning is not a mysterious protective shell. It is layers of polymerized oil — thin films of fat that have been heated past their smoke point and chemically bonded to the iron surface. When you apply oil and bake it at 450–500°F, the fatty acid chains in the oil cross-link into a hard, slick polymer. Repeat this process several times and you build a deep, durable non-stick surface that improves with use.
The practical implications:
- Thin is always better than thick. A thick layer of oil does not polymerize evenly — it stays gummy and tacky in spots. Wipe the pan down until it looks nearly dry before baking. If the surface looks wet or shiny, you applied too much.
- High-smoke-point oils polymerize better. Oils with more polyunsaturated fatty acids polymerize particularly well, which is why flaxseed oil became popular in cast iron forums. But the real-world performance difference between avocado oil and standard vegetable shortening is small.
- Cooking improves seasoning. Every time you cook with fat — bacon, burgers, a seared steak — you are adding micro-layers of seasoning. The best-seasoned pans are the most-used ones.
Which oil to use
This topic generates more debate than it deserves. The short answer: use any oil you have on hand with a smoke point above 400°F.
| Product | Best for | Rating | Notes | |
|---|---|---|---|---|
| Vegetable shortening (Crisco) | Best all-purpose choice for beginners | ★★★★★ | Smoke point around 490F. Widely available. Reliable polymerization. Lard works identically. | — |
| Avocado oil | Best premium option | ★★★★★ | Smoke point around 520F. Neutral flavor. Clean polymerization with minimal residue. | — |
| Canola oil | Best everyday budget pick | ★★★★★ | Smoke point around 400F. Works well for seasoning at or near oven limit. | — |
| Flaxseed oil | Overhyped internet favorite | ★★★☆☆ | Polymerizes very hard but prone to flaking when applied in thick coats. Use extremely thin layers only. | — |
| Coconut oil | Decent pantry fallback | ★★★★☆ | Works fine but can impart slight coconut flavor in the first few uses after seasoning. | — |
| Olive oil or butter | Not recommended for initial seasoning | ★★☆☆☆ | Smoke point too low. Butter burns improperly. Fine for cooking but not for seasoning bake cycles. | — |
The flaxseed oil backstory: A widely shared 2012 post promoted flaxseed oil as the ultimate cast iron seasoning medium based on its high polyunsaturated fat content. The theory is sound; the practice is mixed. Flaxseed seasoning tends to flake off over time unless applied in extremely thin coats with multiple bake cycles. The flaking is not dangerous but it is annoying. Crisco, avocado oil, or lard produce equally durable seasoning with less finickiness. If you have avocado oil in the pantry, use it. If you have Crisco, use that.
Step-by-step: how to season cast iron
What you need
- Cast iron pan or skillet
- Paper towels
- Neutral high-smoke-point oil (shortening, avocado oil, or canola)
- Oven
You do not need special cast iron seasoning sprays, flaxseed oil, or conditioning waxes. Marketing exists to complicate a simple process.
The process
Step 1: Clean the pan. If it is a new Lodge pan, skip this step — it ships with factory seasoning applied and is ready to use. If you are re-seasoning a vintage find or a neglected pan, wash it with warm water and a small amount of dish soap. Scrub off any rust with steel wool or a chain mail scrubber. Rinse thoroughly.
Step 2: Dry completely. This step matters more than it sounds. Place the pan on a burner over medium heat for 3–5 minutes until all visible moisture has evaporated. You should see no steam coming off the surface. Residual water underneath the oil layer will cause rust or surface pitting under the seasoning.
Step 3: Apply an extremely thin oil layer. Pour a small amount of oil onto the pan — less than you think you need. Use a paper towel to spread it across the entire surface: cooking surface, side walls, exterior, handle, and bottom. Then use a second dry paper towel to wipe most of it off. The pan should look like you barely applied anything. If it looks visibly shiny or wet, you used too much — wipe again.
Step 4: Bake upside down at 450–500°F for one hour. Place the pan upside down on the center oven rack with a sheet of aluminum foil on the rack below to catch any drips. Bake at 450–500°F for one full hour. The inverted position prevents oil from pooling in the center of the pan, which would create a sticky spot. The high temperature ensures the oil fully polymerizes rather than just baking dry.
Step 5: Cool in the oven. Turn off the oven and let the pan cool inside with the door closed. This slower cooling allows the seasoning to fully set. Pulling the hot pan directly into cool room air is harmless but rushing this step is not necessary.
Step 6: Repeat 2–3 times. A single bake cycle builds a thin foundation. Three cycles build a surface that cooks well immediately. After the third cycle, the pan is ready for regular use. The seasoning will continue to develop naturally with every cook.
A note on Lodge pans specifically
A new Lodge skillet ships with a light factory seasoning and is ready to cook immediately. You do not need to season a new Lodge before first use — this is one of the most common first-time cast iron mistakes. Start cooking, preferably with fatty foods like bacon or a well-oiled burger, and the seasoning will develop naturally. The cast iron forum ritual of seasoning a new pan 4–6 times before cooking is extra work on a pan the factory already prepared.
A standard Lodge 12-inch Cast Iron Skillet runs $30–40 and handles everything from stovetop searing to cornbread to campfire cooking: see current price on Amazon
Day-to-day maintenance
After each cook
- While the pan is still warm (not screaming hot), wipe out food residue with a folded paper towel.
- For stuck-on bits, add a splash of hot water while the pan is still hot — the steam and heat will loosen debris. A wooden spatula helps lift anything stubborn.
- Wash with warm water. A small amount of dish soap is fine. Modern dish soap does not strip cast iron seasoning — the old prohibition comes from a time when soap contained lye, which does strip polymerized oil. Rinse completely.
- Dry immediately. Do not leave a cast iron pan sitting in water or in a wet dish rack.
- Heat on the burner for 1–2 minutes to drive off all moisture. Visible steam means there was still water; keep the heat on until it stops.
- Apply a micro-thin layer of oil with a paper towel and wipe it around the cooking surface. The pan should look matte and slightly warm-toned, not shiny.
What to avoid
Soaking in water. Even a 10-minute soak can start surface rust on a pan with thin seasoning.
Dishwasher. It will strip the seasoning completely and should not be attempted.
Extended acidic cooking. A quick deglaze with wine or vinegar is fine. Simmering a tomato sauce for 45 minutes will gradually strip seasoning and can impart a faint metallic flavor to food. For long acidic cooks, use enamel cast iron (Le Creuset, Lodge Enameled) or stainless steel.
Storing wet or in high humidity. Always store completely dry. Placing a folded paper towel inside the pan while storing helps absorb residual moisture and prevents the cooking surface from touching any metal lids that might hold condensation.
How to read the seasoning
A well-seasoned cast iron pan has an even, dark, slightly matte surface with no patchy grey areas or dull spots. It should feel smooth, not rough or grainy.
Early signs the seasoning is thinning: food sticks more than usual, the surface looks patchy or mottled, light-colored or grey patches appear. This is normal maintenance need, not failure. One or two oven seasoning cycles restore the baseline.
Severe deterioration: orange or red rust spots, active pitting, flaking surface. This calls for a full strip and re-season, but the pan is still recoverable.
How to strip and re-season
Rescuing a rusty or stripped pan is straightforward and takes about 2 hours of mostly hands-off time.
Option 1: Oven self-clean cycle (easiest for modern pans)
Place the pan in an oven set to the self-cleaning cycle. The extreme heat — typically 900°F or higher — burns off all existing seasoning and carbon buildup. After the cycle, the pan will be bare grey iron, possibly with light ash residue. Wipe clean, remove any remaining rust with steel wool or fine-grit sandpaper, and re-season from Step 1 above.
Note: This method can warp thin-gauge vintage pans. Reserve for thicker modern cast iron or heavy-gauge vintage pieces.
Option 2: Salt scrub (for light surface rust only)
Pour a generous amount of coarse kosher salt into the pan, then scrub aggressively with steel wool or a chain mail scrubber. The salt acts as an abrasive. Rinse thoroughly, dry on the burner, and re-season immediately. This works for surface rust only — it is not enough for deep pitting or heavy corrosion.
Option 3: Lye soak (for vintage or delicate cast iron)
A 1–2 hour soak in a lye-based oven cleaner removes all seasoning without heat stress. This is the preferred method for thin vintage cast iron where a self-clean cycle might cause warping. Requires safety precautions: chemical-resistant gloves, eye protection, outdoor or well-ventilated space. Rinse the pan thoroughly with water and white vinegar after the soak, then re-season immediately before any rust forms.
A chain mail scrubber handles both maintenance cleaning and light rust removal without damaging established seasoning: search on Amazon
What to cook to build seasoning naturally
The fastest route to great cast iron seasoning is regular use with fatty foods:
- Bacon. Rendered pork fat is an ideal seasoning medium. Cook a few strips in a new pan and you are seasoning while making breakfast.
- Pan-seared steaks at high heat. Oil or butter plus heat adds micro-layers of seasoning with every cook.
- Cornbread. Pre-oiling the pan before every bake adds seasoning with every loaf.
- Fried or pan-fried foods. The oil coverage during frying is excellent for building even seasoning across the full cooking surface.
For the first 15–20 cooks on a pan, avoid:
- Eggs. They will stick on young seasoning. Once the surface matures after a few weeks of regular use, eggs slide right out.
- Delicate fish fillets. Same issue — fragile proteins on thin seasoning tear and stick.
After 2–3 months of regular use, a cast iron pan that started as a basic Lodge will develop non-stick performance that rivals coated pans — without any coating to scratch off or replace at the two-year mark.
FAQ
Frequently asked questions
Can I use soap to clean cast iron?
How many oven seasoning cycles do I need before first use?
My pan is sticky after seasoning. What went wrong?
My pan has rust spots. Is it ruined?
Can I cook tomatoes or acidic foods in cast iron?
How long does a properly maintained cast iron pan last?
What is the difference between cast iron and carbon steel?
Bottom line
Seasoning cast iron is not complicated once you understand the core principle: thin layer, high heat, polymerization. Apply oil thin enough that the pan looks nearly dry, bake at 450–500°F upside down for an hour, repeat twice more. Then start cooking — every cook with fat adds seasoning automatically. The process that sounds intimidating in long forum threads takes about 90 minutes of hands-off oven time and 5 minutes of actual work.
The bigger habit is the 60-second post-cook routine: wipe, wash briefly, dry on the burner, apply a micro-thin oil layer. Do that consistently and the pan improves for years without any dedicated re-seasoning sessions.
For related reading: the best cast iron skillets and cookware, comparing grill fuel types, or the complete outdoor cooking setup guide.